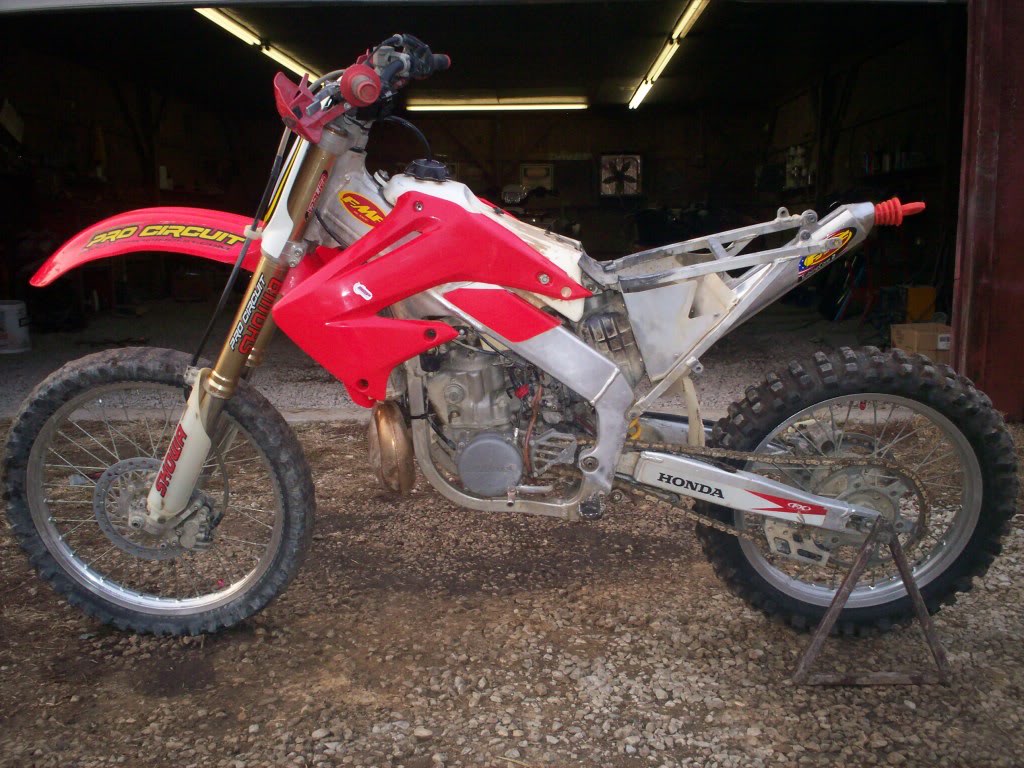
Well I made some progesss today. We achieved to get the raditor shrouds on and the front number plate on, all together it took about 3hrs not to bad I thought. Now since I told you guys about what I have done I figured I would show pics of the bike and the modifications that we had to make the shrouds fit.
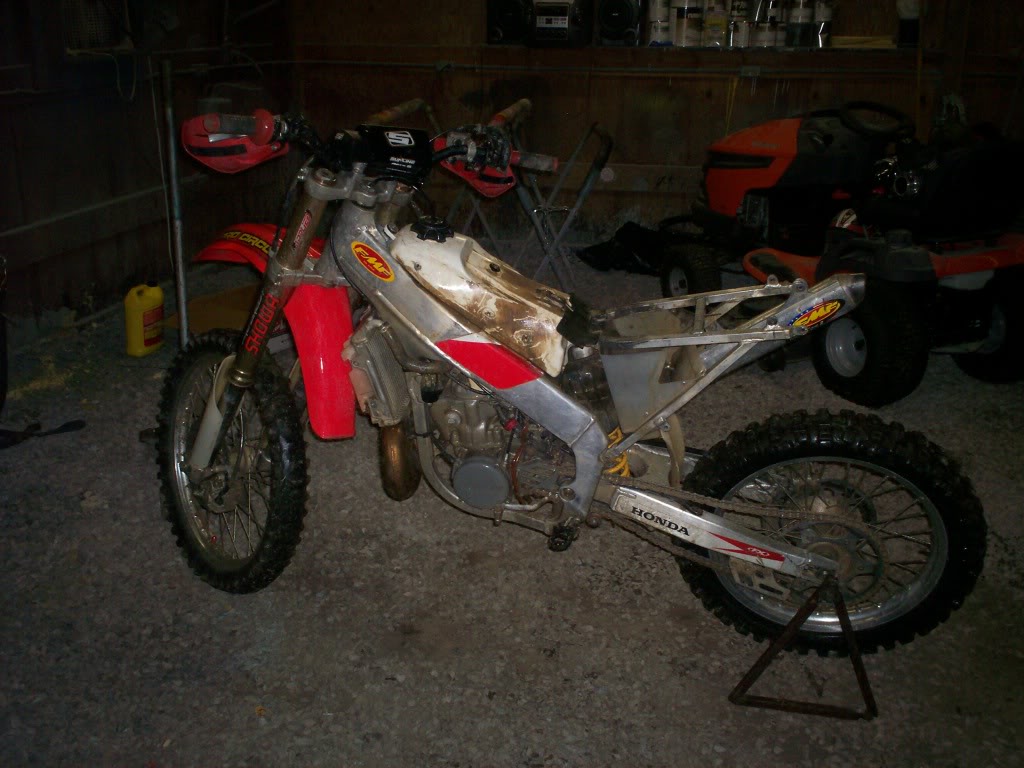
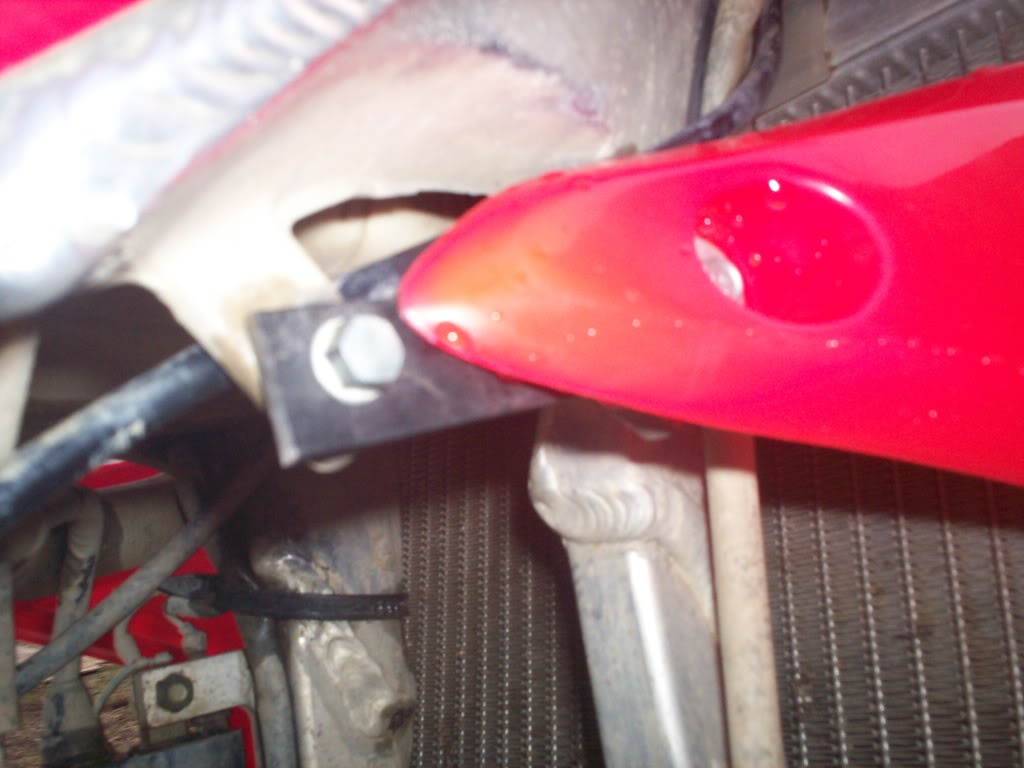
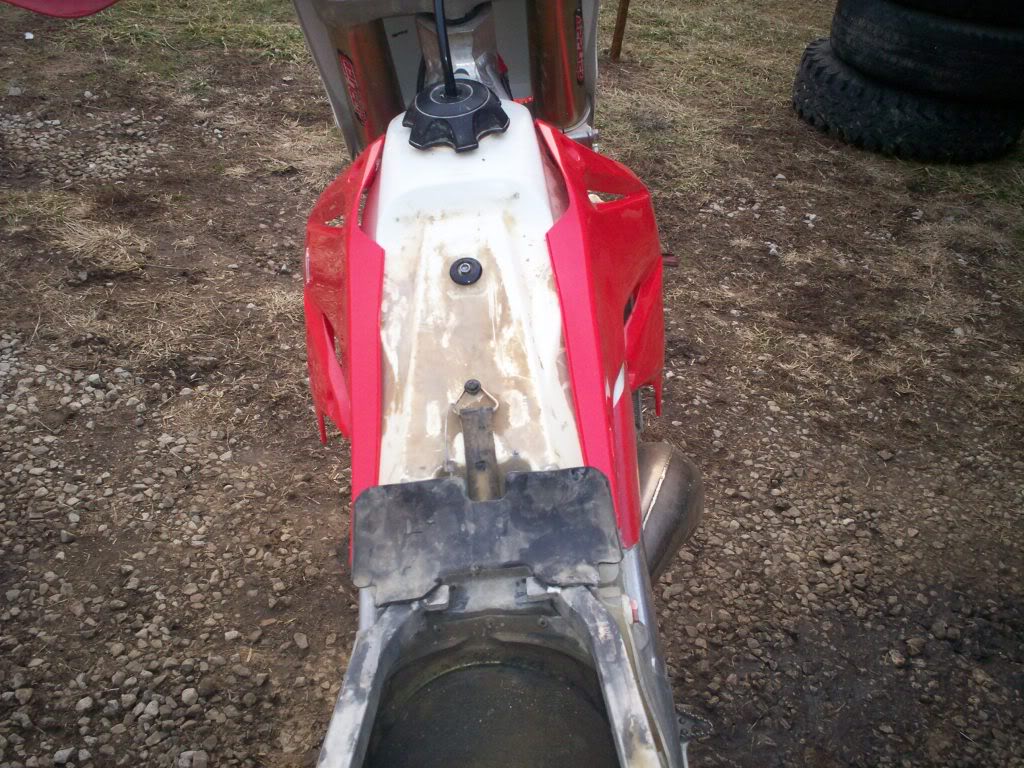
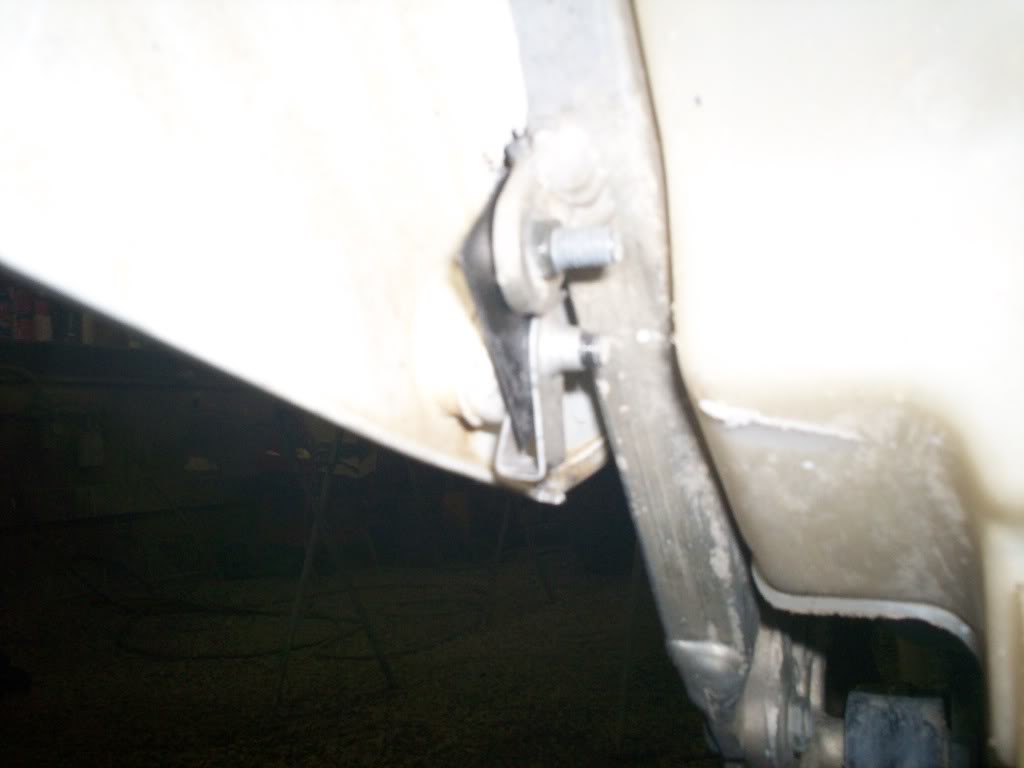
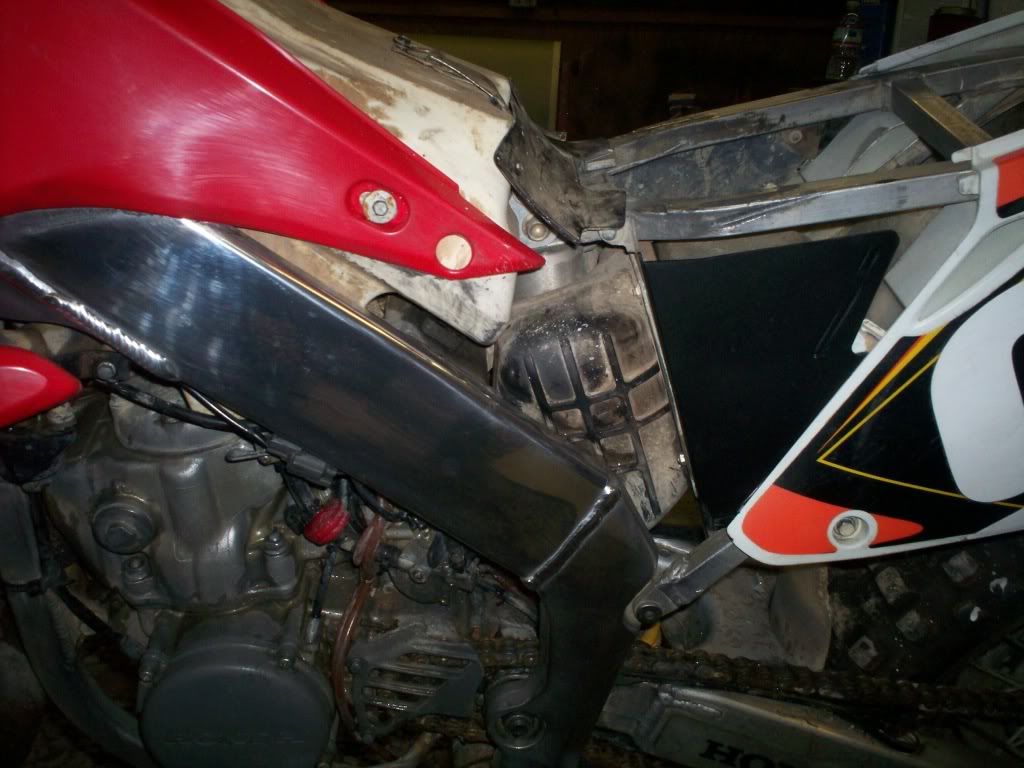
The first bracket that I am going to show is the right raditor shroud. All that I done was took a digrinder and cut some metal off of a frame that we had and it was approximantly about 3 1/2 inches long and about 1 inch wide so after that I sanded the piece of metal and spray painted it black. After I got done with that step I bolted it on the frame and then just started to bend it were it would fit and then bolted it up. It was not that hard suprisingly just took some time. Also it did not require no bracket to the raditor we just had to shape the plastic alittle bit. Now that I explained the right raditor shroud I am going to try to explain the left raditor shroud the best I can it was a pain in the butt

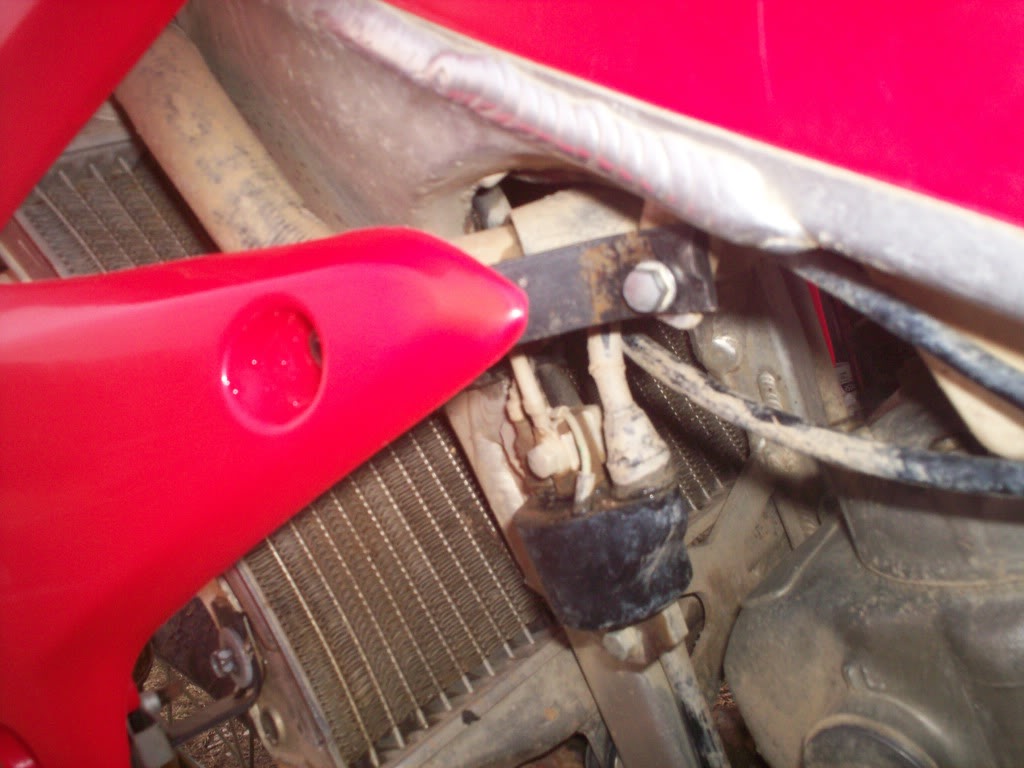
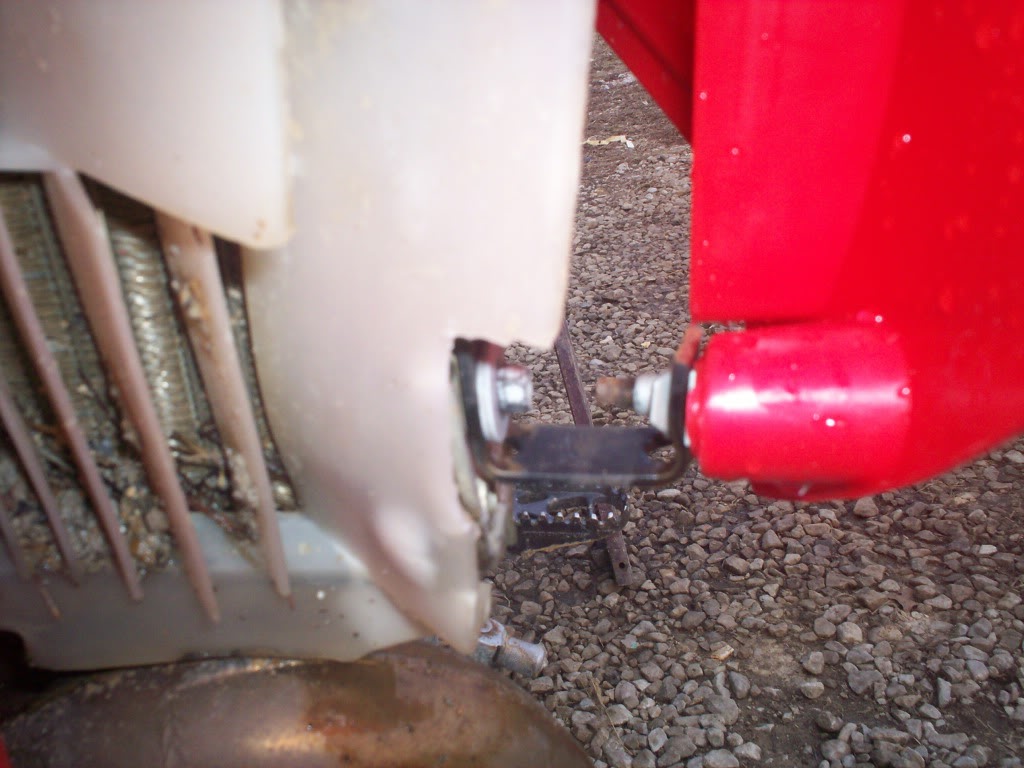
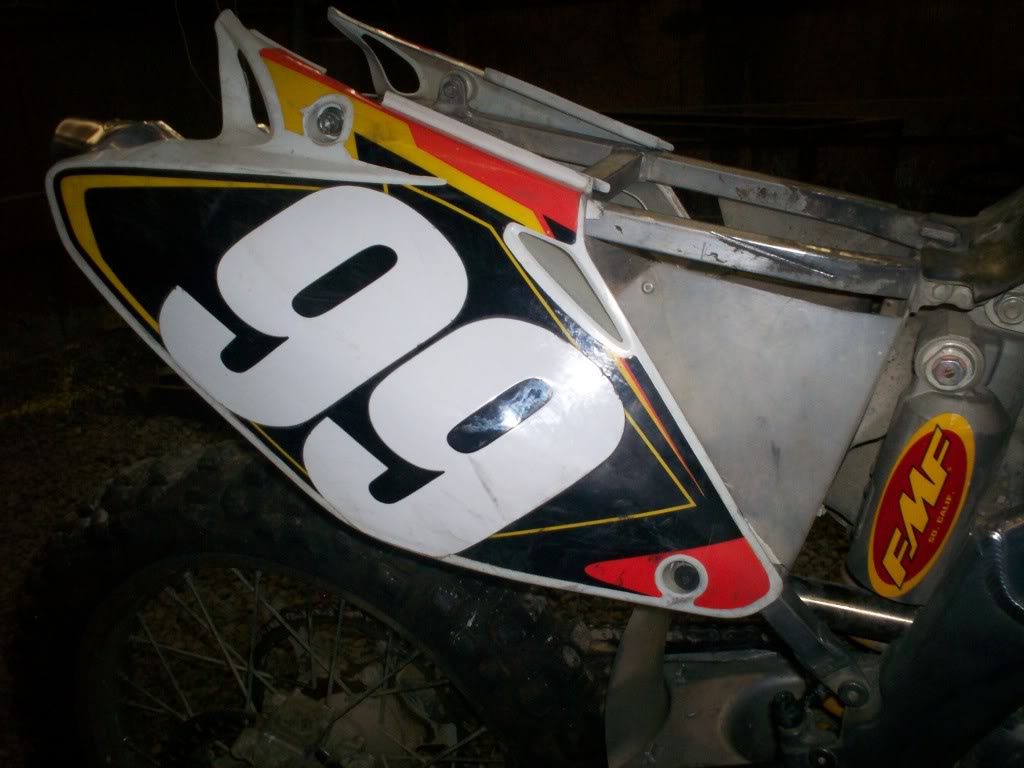
First I took the digrinder again and cut the frame again and made the metal approxmantly 3 1/2 inches long again and 1 inch wide.(I forgot to mention this is bracket goes to the frame.) Then we bent the piece of metal approximantly at a 45 degree angle then we bolted to the frame and then we just put it on and it worked fine. Another thing that I forgot to mention again was that I took a drill bit and drilled a whole in the bracket were the bolt could go through and screw into the plastic and the frame. On the bottom bracket that goes to the raditor I had to take the digrinder and cut the piece of metal off of the frame and it was approximantley about 4 inches long and 1 inch wide, after that I had to drill a whole in the metal and then made it into a U shape. Pretty much after that that bracket fit just fine and bolted right up. I hope you guys and gals like the thread it has been some work put into this bike and I hope I get some replies.
Right raditor shroud:
Left raditor shroud:
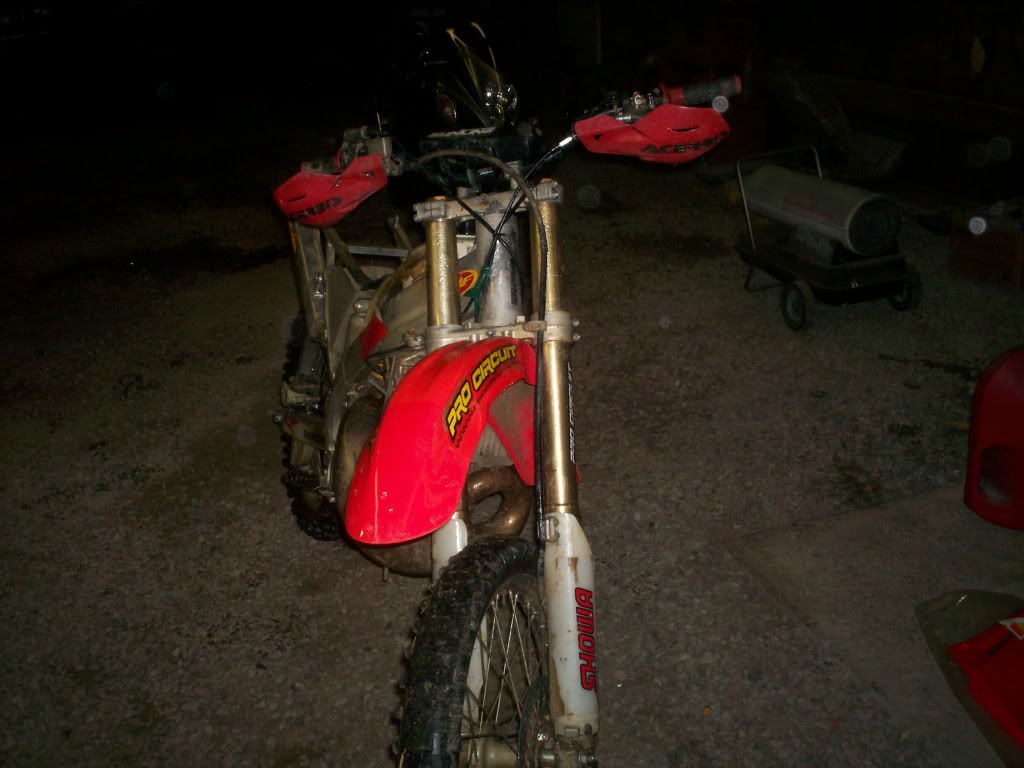
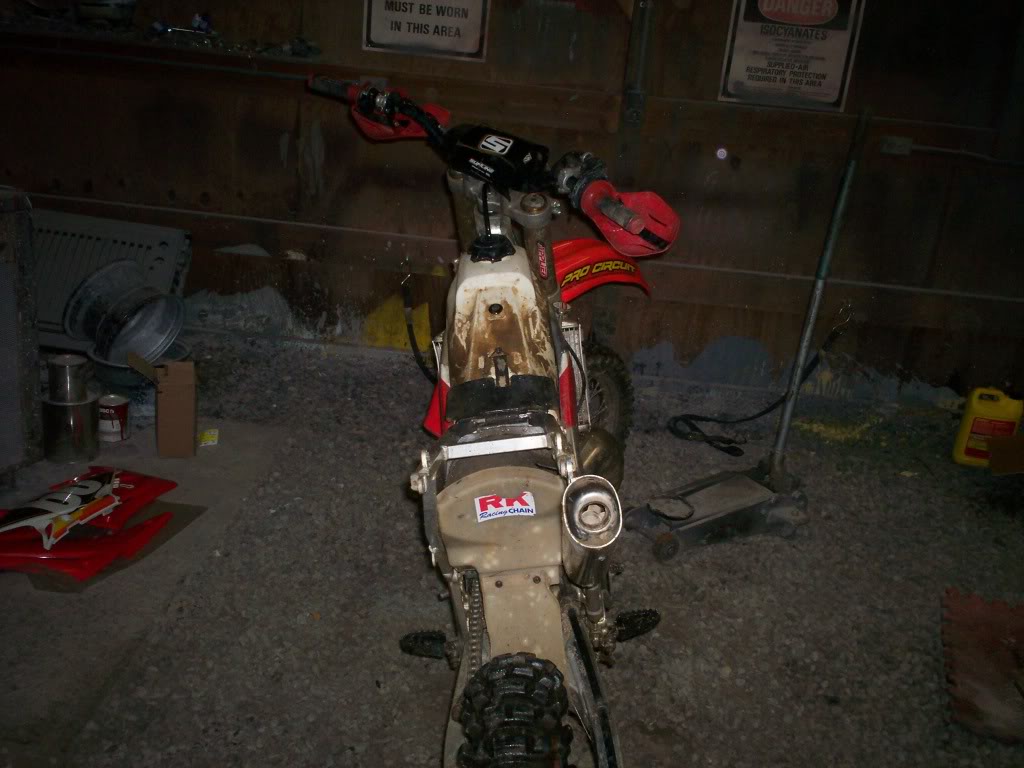
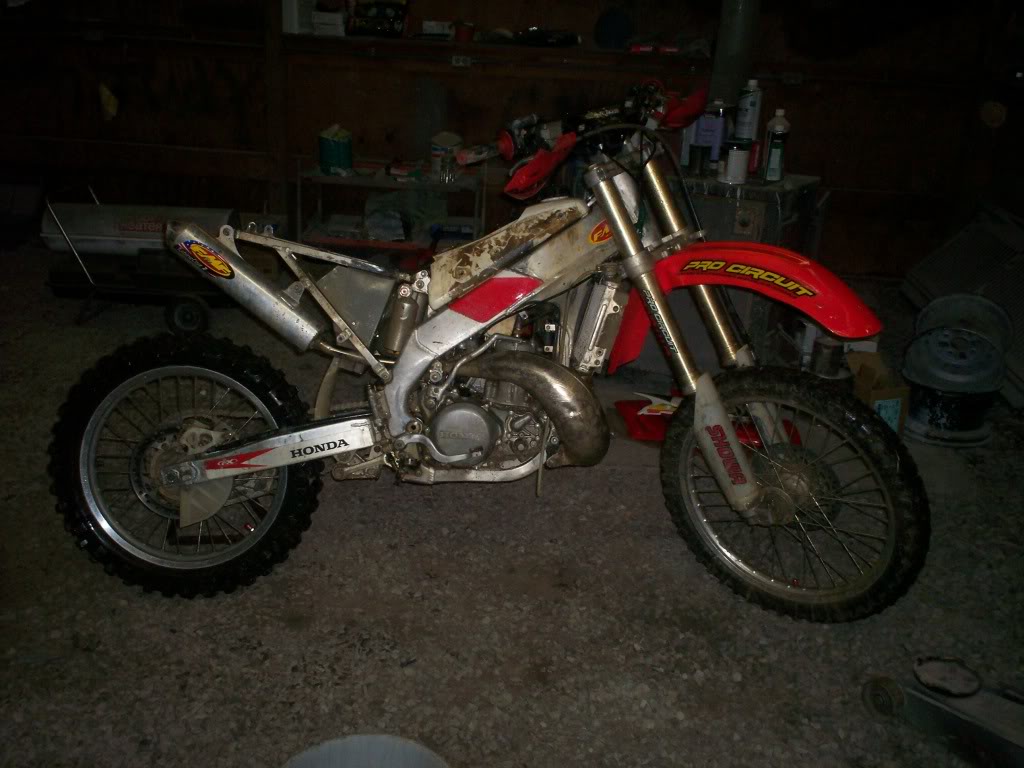
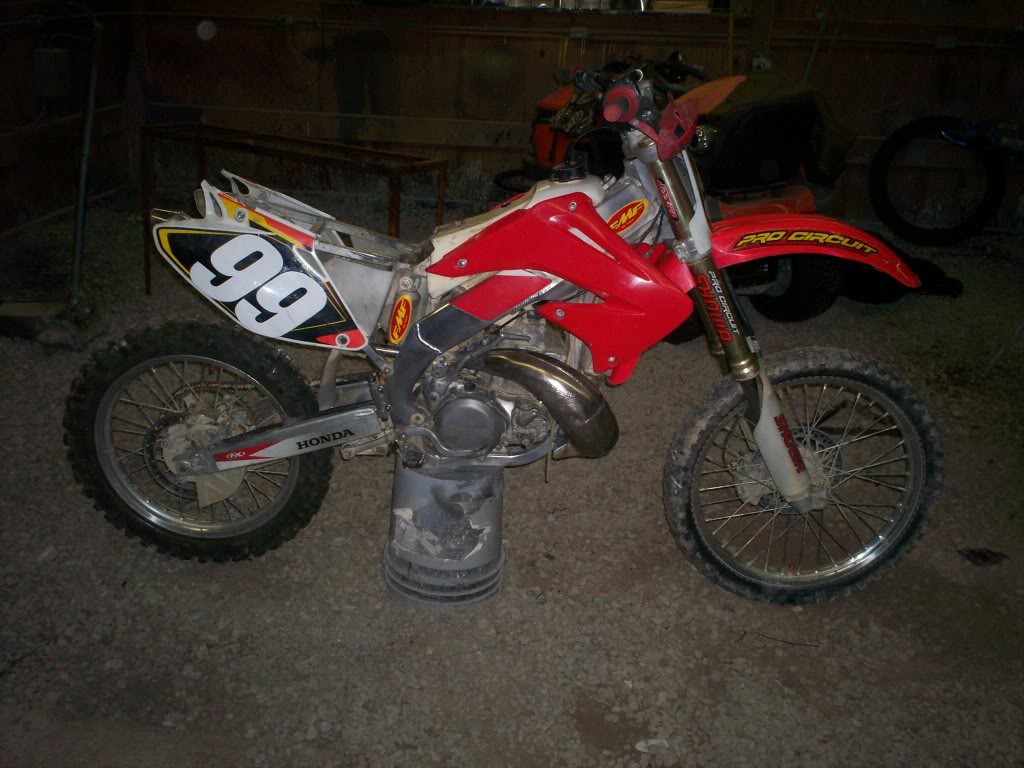
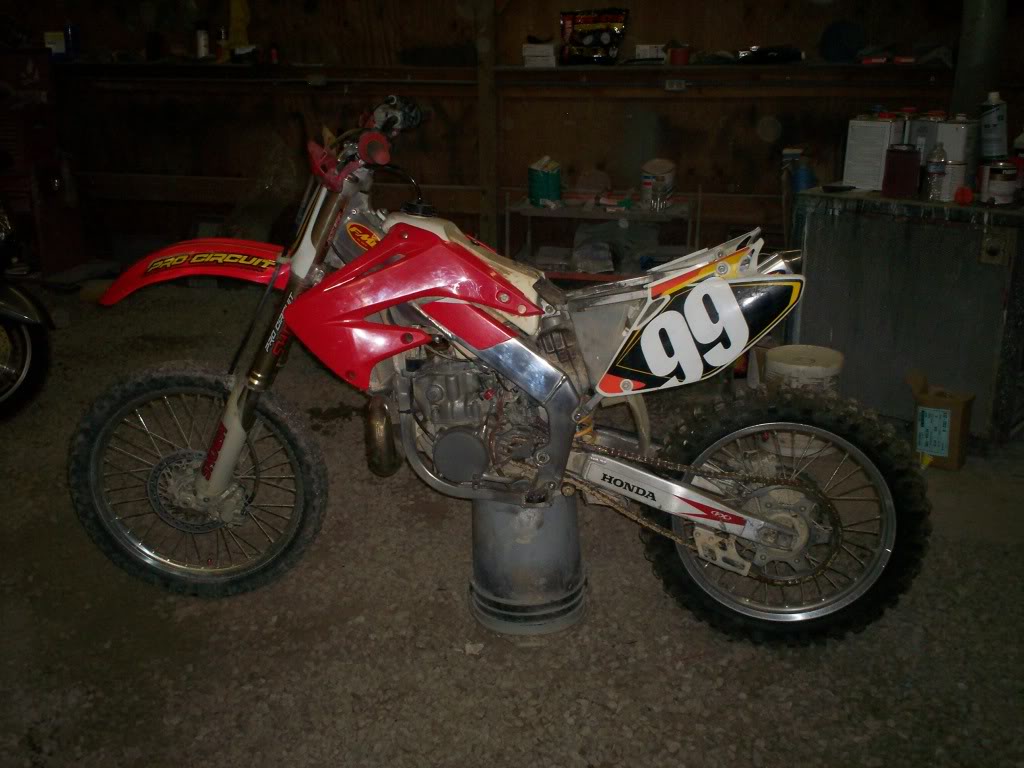
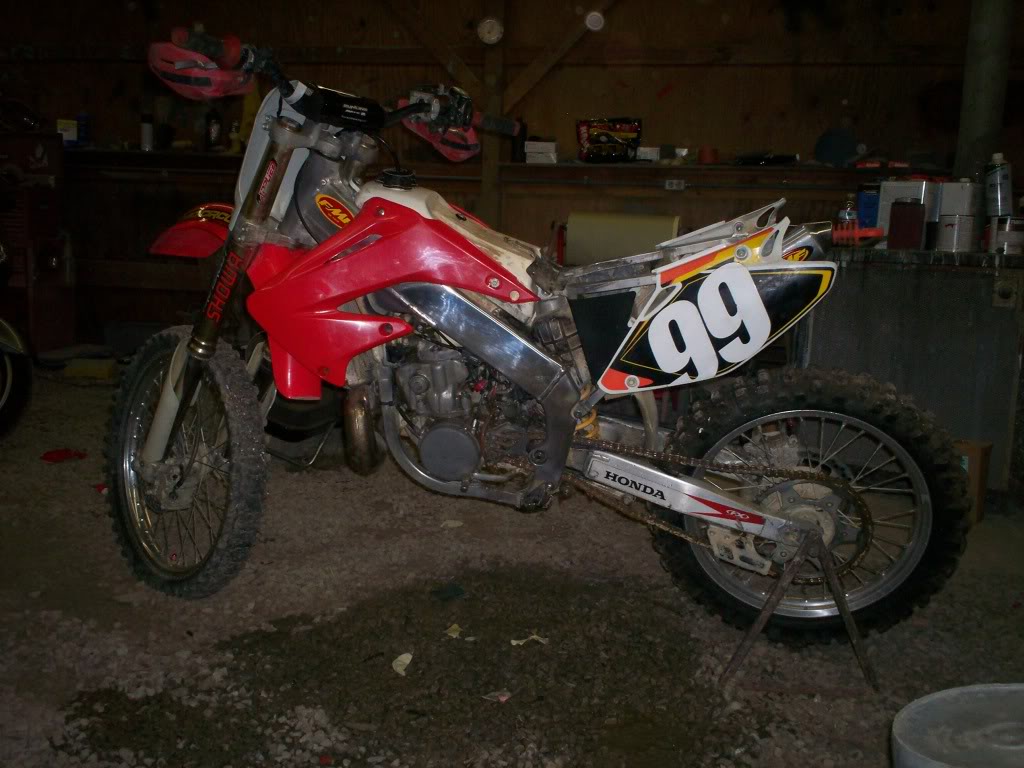
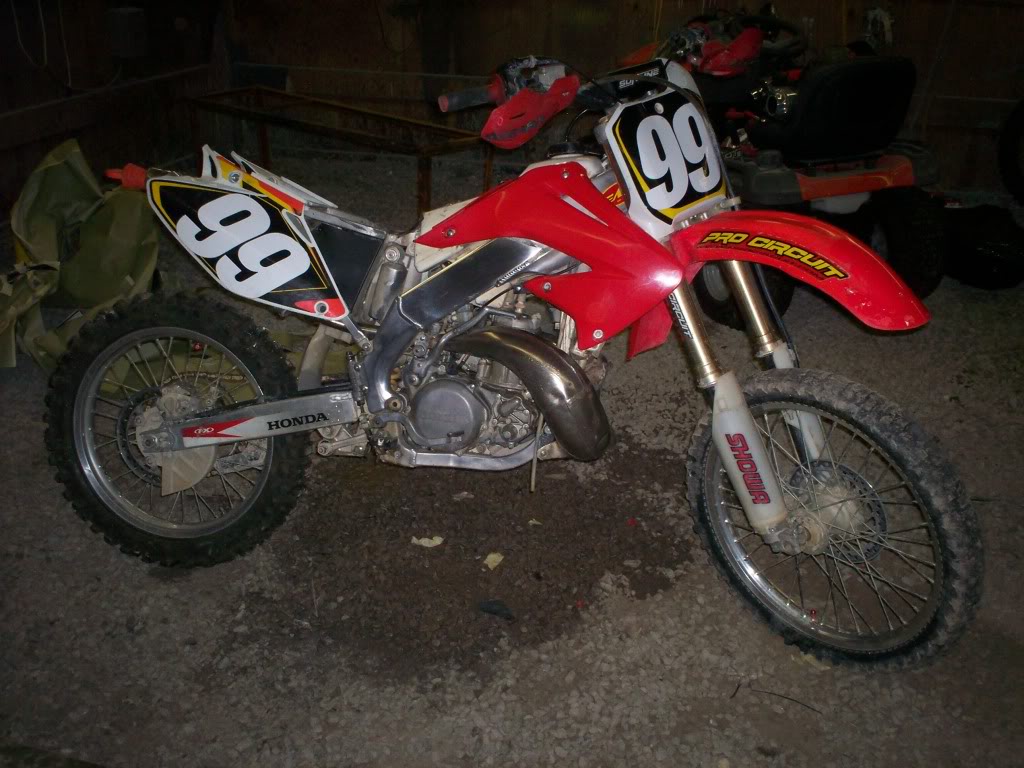
The bike:


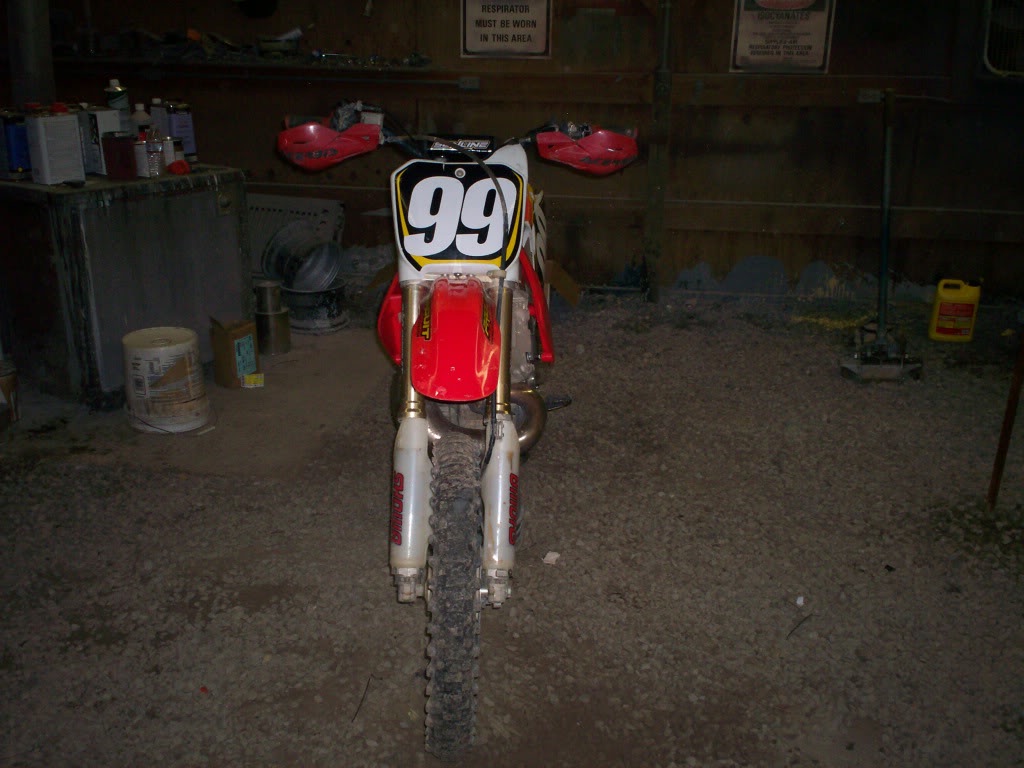
 and put on my front tire I will post pics tonight

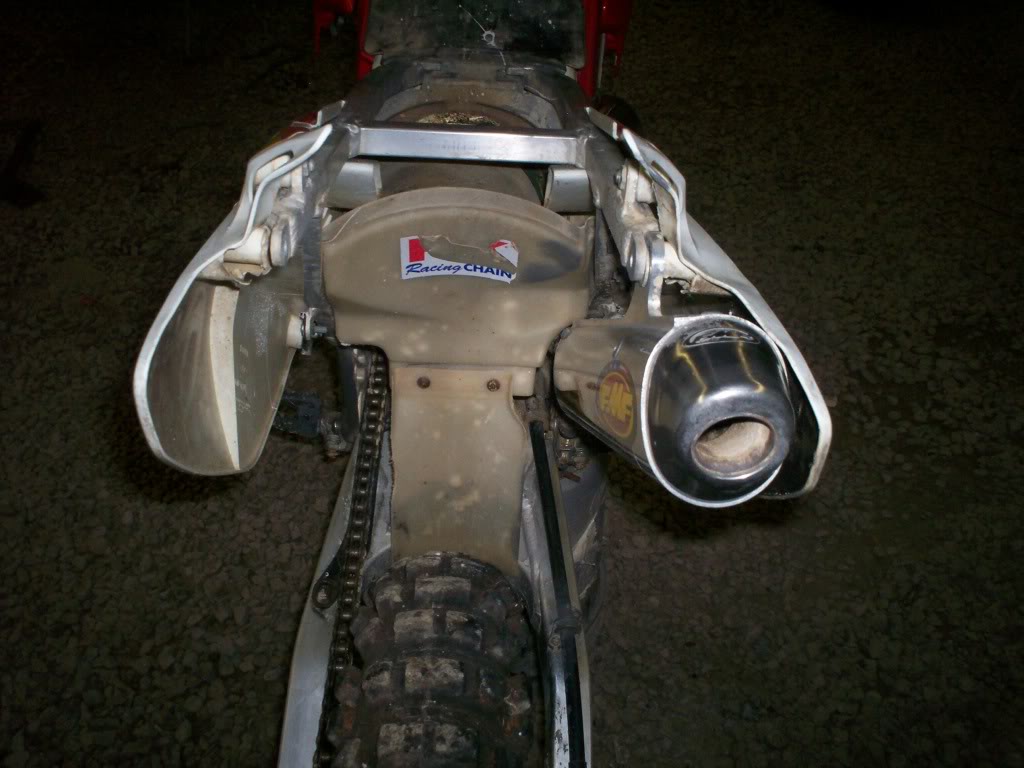
 The chain looks loose because it is on the bucket that is why I was wandering the same thing here just a few days ago when I done that.